Why a patch panel exists at all, because this is the part nobody explains: solid-conductor cable in your walls is not designed to be plugged and unplugged. It is designed to be terminated once, into a jack, and then never touched again.
The patch panel is that termination point. Everything after it is stranded patch cable, which is built to be moved. Crimping RJ45 plugs directly onto in-wall solid cable is the single most common home-networking mistake, and it produces connections that work today and fail intermittently in two years.
I have spent fifteen years doing this at commercial scale — the results of some of that work are on the enterprise cable management page, in my own photographs. What follows is the same discipline, scaled down to a rack in a basement.
The four rules, in order
1. Terminate, do not crimp
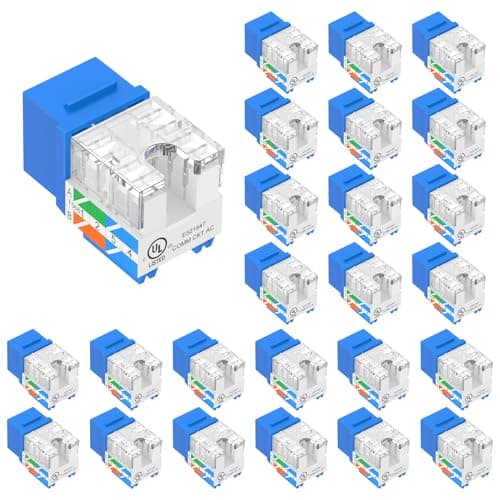
In-wall cable goes into a keystone jack with a punch-down tool. The jack goes into the panel. A patch cable goes from the panel to the switch. That is the correct topology and it is what structured cabling standards describe.
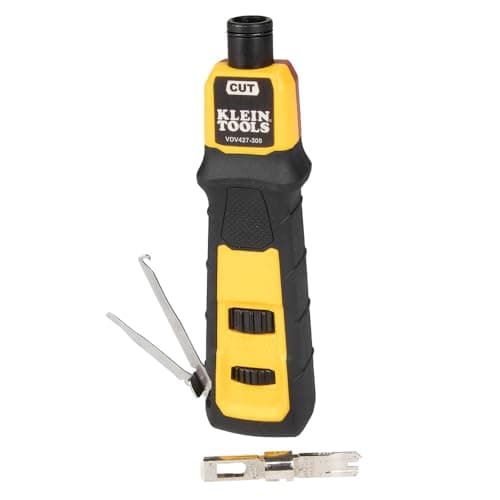
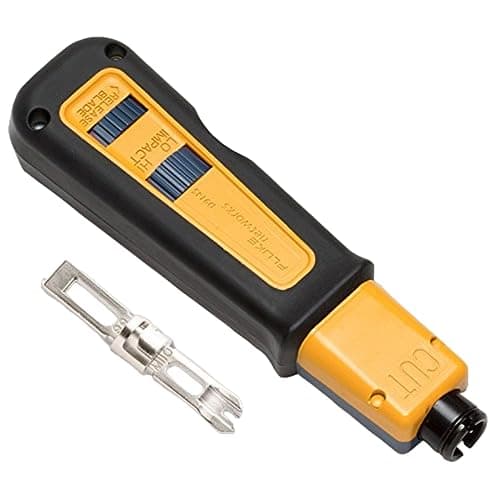
Use an impact punch-down tool. It seats the conductor and trims the excess with a consistent force, and consistency is exactly what separates a termination that passes a test from one that intermittently does not.
2. Keep the twist
Untwist the pairs as little as possible at the termination — a small fraction of an inch is the target. The twist is what rejects interference, and it is the first thing lost by someone stripping back three inches of jacket to make the job easier.
Two related rules from the same physics: do not exceed the cable's bend radius, and do not overtighten anything around a bundle. Which brings us to the next one.
3. Hook-and-loop, never zip ties
A zip tie pulled tight deforms the cable jacket and changes the geometry of the pairs inside, which is a genuine signal-integrity problem on longer runs. It is also permanent — adding one cable means cutting and replacing the whole bundle.
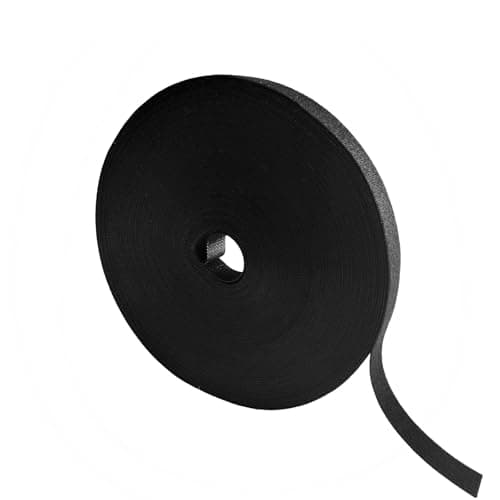
Hook-and-loop wrap from a roll, cut to length, costs about the same, cannot crush anything, and takes seconds to redo. Every commercial installation worth looking at uses it.
4. Label both ends, then test every run
An unlabeled cable is an undocumented cable, and undocumented cabling gets ripped out and re-run by the next person, who might be you in three years. Label the wall plate, the panel port and the patch cable. Wrap-around and flag label formats are what survive on a cable; a sticker will curl off in a warm rack within a year.
Then test everything. A twenty-dollar tester finds swapped and split pairs, which are the two faults that look like a working cable and are not. Testing twenty-four terminations takes ten minutes and saves an evening of blaming the switch.
The rack layout that makes this work
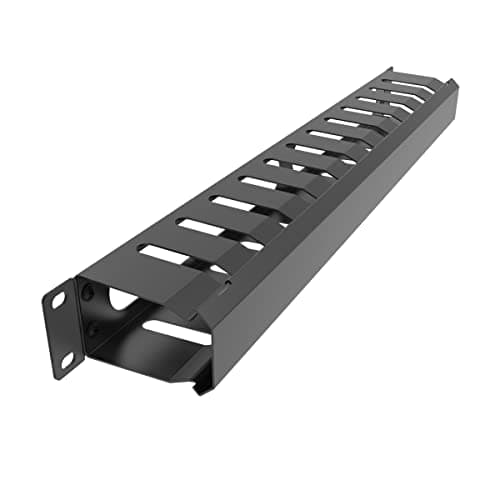
Patch panel at the top. Cable manager in the U directly beneath it. Switch beneath that. Now every patch cable is a foot long, goes straight down through a slot in a known order, and the whole rack is traceable at a glance.
Get that geometry wrong — switch three U below the panel, no manager — and you need three-foot cables with service loops, and the back of the rack becomes a nest within a month. The rack layout page covers the rest of the U plan: your first homelab rack.
Color as documentation
Patch cables come in colors and it costs nothing to use them. A color per network — trusted, IoT, guest, management — makes a mis-patched port visible from across the room. It pairs directly with network segmentation, and it turns a VLAN mistake from a debugging session into something you notice while walking past.
Buying notes
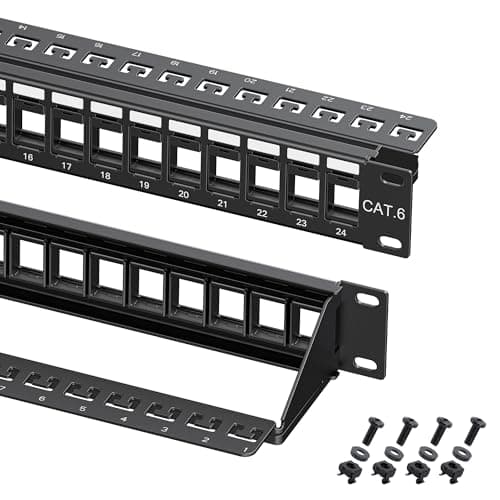
Blank keystone panels, not fixed-jack panels
A house needs a mix — Cat6, a fiber coupler, maybe coax. A blank panel takes whatever keystone you push into it and lets you populate as you run cables. Fixed-jack panels are slightly cheaper per port and lock every port into one decision.
Check for a UL listing on the jacks
It is the cheapest quality signal available in this category and it is the difference between a jack built to the standard and a jack that says "Cat6" on the bag.
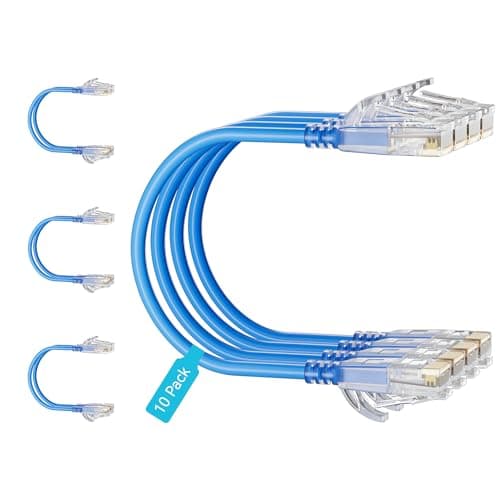
One-foot slim patch cables
If the switch is directly under the panel, a foot is the right length and there is no service loop to hide. Slim-profile cable takes up roughly half the room of standard patch lead, which is what lets twenty-four of them pass through one manager.
Buy the mid-tier punch tool
An impact tool is worth the upgrade from a screwdriver-style one. The professional-grade tool is worth it if cabling is your job — its advantage is blade life over thousands of terminations, and that is not a constraint on a twenty-four-port panel. That is why the professional tool is the skip pick above.
The order of work
- Mount the panel and the cable manager before anything is terminated.
- Dress the incoming cables to the panel, with slack coiled behind the rack.
- Terminate, one jack at a time, keeping the twist.
- Label both ends as you go, not afterwards.
- Test every run before you patch anything to the switch.
- Patch, with a color per network, through the manager.
Doing the labeling last is how it does not get done. Doing the testing last is how you find the fault after the rack is closed up.