
Section 08
PC Builds
Same instinct as the garage, smaller fasteners. How I plan a build, how the cables get tidy, and the desk gear that holds it all up.
Building a computer and wiring a truck are closer than they look. Both are a power budget, a set of connectors that only go in one way, and a cable run that decides whether the thing is pleasant to live with. I build my own machines, the same way I did the twelve-volt work on the 4Runner, and this section is what I have to say about it that is useful to somebody else. It starts with the two machines I actually assembled in May 2026 — mine and one for a friend, near-identical builds separated by a single line on the parts list — with the real parts, what I paid, my own photographs, and the first-boot screen where I had left the memory profile switched off. The rest is the reasoning that transfers regardless of which generation of parts you are shopping: how to split a budget so the money lands where the performance is, how to make cable management a build step rather than a regret, and what actually matters in the desk hardware everything sits on.
We earn a commission when you buy through our Amazon links, at no extra cost to you. It never changes the order of the picks, and we say so when the cheaper thing is the better buy. How this works.
Everything in this section
9 PC build pages

Build log
My PC Build: I Built Two of These
The actual parts, what I paid in May 2026, my own photos — and the honest 5070 Ti versus 5060 Ti section where the cheaper build is the smarter money.
The build · Ryzen 9 9950X, 16-Core / 32-Thread
#ad · price as of October 19, 2026
Buying guide
How I Plan a PC Build
Budget allocation logic that outlives any parts generation, plus the seven components where the specification is real — and one case that hides the spec that matters.
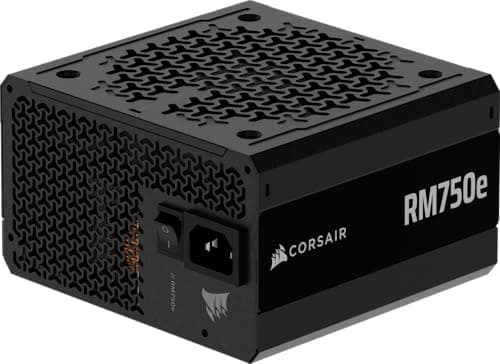
Best value power supply · RM750e ATX 3.1 PCIe 5.1, 750 W
#ad · price as of October 19, 2026
Buying guide
PC Cable Management Done Right
The routing method borrowed from twelve-volt vehicle wiring, plus eight pieces of cable gear — including the extension kit I would not put on a modern graphics card.
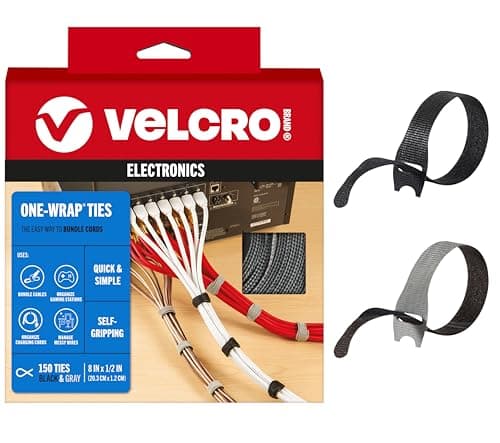
Best cable ties · Reusable Cable Ties, 8 in (150-pack)
#ad · price as of October 19, 2026
Roundup
Best Monitor Arms
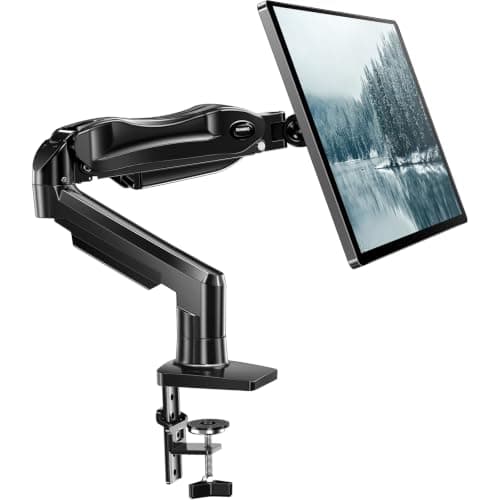
Six arms and a laptop tray, judged on stated weight range and mount type — plus the free-standing stand that gives back the desk space you bought an arm to recover.
Best monitor arm · FlowLift Single Monitor Mount, 13-32 in
#ad · price as of October 19, 2026

Buying guide
Cable Management, Before and After: What 15 Years of Enterprise Wiring Teaches You
Real before-and-after rack photographs from my day job, why racks decay into a nest in the first place, and the discipline plus the eight-category toolkit that turns one into the other.
Best rack cable ties · ONE-WRAP Tape, 3/4 in x 25 yd, double-sided roll
#ad · price as of October 19, 2026
Buying guide
Your First Homelab Rack
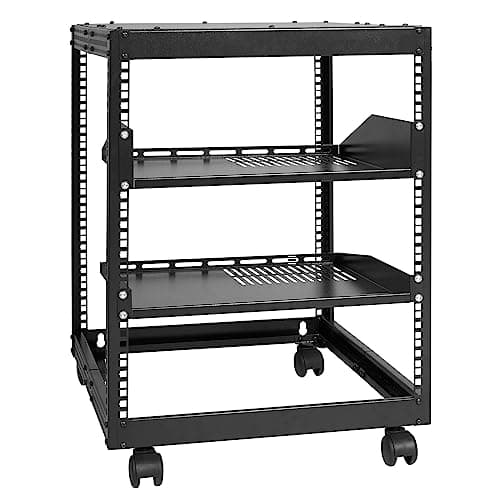
Choosing rack units and depth, why open frame beats an enclosure in a house, and the six pieces of hardware that turn a frame into a working rack.
Best first rack · VEVOR 12U Open-Frame Server Rack, Adjustable Depth
#ad · price as of October 19, 2026
Buying guide
Home Network Segmentation, Explained
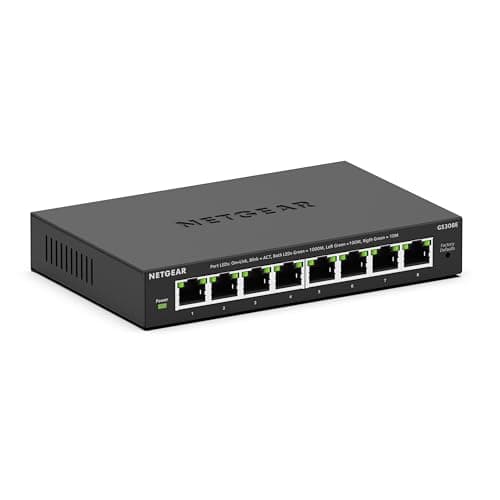
VLANs explained in plain language, the four networks a house actually needs, and the equipment that does it — with the expensive switch to skip.
Best VLAN switch · NETGEAR GS308E 8-Port Gigabit Smart Managed Switch
#ad · price as of October 19, 2026
Buying guide
Patch Panels and Rack Cable Management
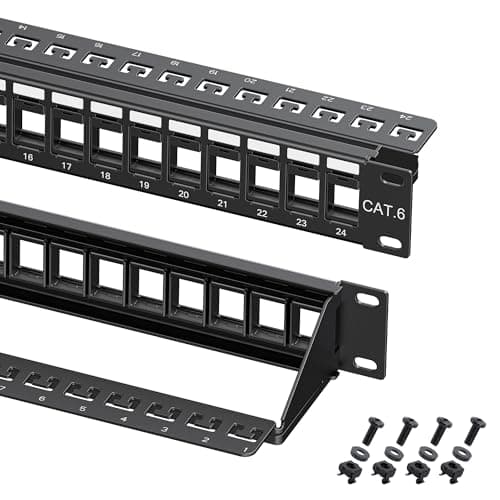
Why a patch panel exists, how to terminate keystone jacks, dressing and labeling that survives, and testing every run before you trust it.
Best patch panel · Cable Matters 1U 24-Port Keystone Patch Panel with Cable Bar
#ad · price as of October 19, 2026
Buying guide
UPS Sizing for a Homelab
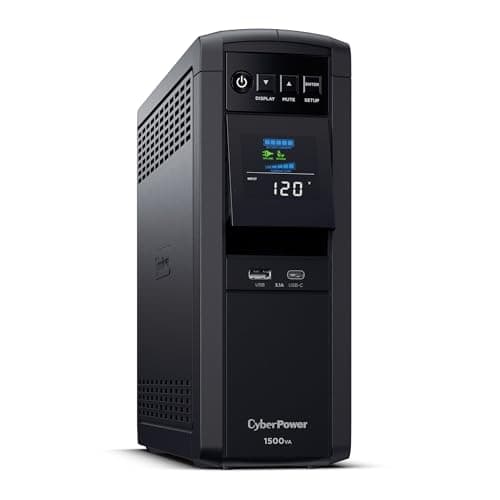
VA versus watts, why active-PFC power supplies need a true sine wave, how to work out runtime honestly, and which UPS to buy for which load.
Best homelab UPS · CyberPower CP1500PFCLCD Sine Wave UPS, 1500VA/1000W
#ad · price as of October 19, 2026
Before you buy
Allocation beats part-picking
The most common way to waste money on a build is not buying the wrong part, it is buying a set of parts that are not balanced against each other. A top-tier graphics card fed by a budget power supply, or a fast processor paired with a cooler that cannot keep it out of thermal throttling, spends money on capability that never reaches the screen.
Decide what the machine is for first, then split the budget by that answer rather than by enthusiasm. A gaming machine puts the largest single share into the graphics card, because in almost every game that is the part deciding the frame rate. A machine for compiling, rendering or video work moves that share to the processor and to memory capacity. A machine that mostly sits on a desk being used should spend proportionally more on storage and quiet.
Two parts are chronically under-budgeted and both are the kind you keep across builds: the power supply and the case. Neither makes a benchmark faster. Both decide whether the machine is stable, quiet, and pleasant to work inside two years from now, and both routinely outlive the parts they were bought for.
The power supply is where the specification is real
Power supply listings are unusually honest by component standards, because the meaningful claims are certified by somebody else. The 80 PLUS program tests efficiency at defined load points and publishes tiers — Bronze, Gold, Platinum and up — so a Gold badge means a lab measured the unit, not that the marketing department liked the word.
Wattage should be chosen from the actual draw of the parts plus headroom, not from the largest number affordable. A supply loaded near its limit runs hotter, runs its fan harder and has nothing left when a graphics card spikes. Headroom is also efficiency: most units are at their most efficient somewhere around half load.
The connector standards are the part that catches people out. Modern platforms have moved to ATX 3.x and PCIe 5.x with a native 12V-2x6 connector for high-draw graphics cards. If you buy an older supply and adapt it, you have introduced a junction that is carrying a great deal of current — and adapters are exactly where high-current connections fail.
Cable management is airflow and serviceability, not decoration
A tidy build looks better through a glass side panel and that is genuinely part of why people do it. It is not the reason it matters. Cables bundled out of the way stop obstructing the path air takes from the intake fans to the exhaust, and a case that moves air is a case where every component runs cooler and every fan runs slower and quieter to achieve it.
The bigger payoff is the second time you open the machine. A build with routed, secured, labeled cable runs takes ten minutes to add a drive to. The same build with everything crammed behind the motherboard tray takes an hour and usually ends with something unplugged that you did not notice until it would not boot.
The technique is the same as automotive wiring, which is why this section exists on this site at all: run before you connect, bundle at the natural bends, secure to a fixed point rather than to another cable, and leave slack where a part will move. Reusable hook-and-loop straps rather than zip ties, for the simple reason that you will be back in there.
The rest of the outpost
Other categories
- Knives & EDCThe gear that lives in your pocket every day, ranked on the three things that actually decide it: the steel, the lock, and how much you notice carrying it.
- HuntingBoots, packs, glass and cameras, judged on the specifications that decide whether you stay out all day or turn back at noon.
- CampingTents, sleep systems, stoves and coolers, sorted by whether you are carrying them on your back or lifting them out of a truck bed.
- FishingRods, reels, line and electronics, matched to the water you fish rather than the one in the catalog photo.
- OverlandingRooftop tents, recovery kit, air and 12-volt power, checked against your vehicle's actual ratings before anything gets recommended.
- Shooting GearOptics, cases, cleaning kit, slings, rests and hearing protection — the accessories, judged on their published numbers.
- The GarageTwo project vehicles, a soldering iron that has actually been used, and the gear pages that came out of doing the work rather than reading about it.
- Home DIYSame instinct as the garage, applied to the house and the yard. Real projects, my own photographs, and the parts of each job I would do differently.