I did the twelve-volt accessory wiring on my own 4Runner — relays, fuse block, my own crimps. The first time I built a PC after that, the thing that struck me was how much of it is the same job at a different scale. Same order of operations, same failure modes, same reason to do it properly: not appearance, serviceability.
Why it actually matters
Airflow
A case moves air along a path from the intake fans to the exhaust. Cables draped across that path are an obstruction, and an obstructed case runs its components warmer. Warmer components make fans spin faster to compensate, and faster fans are the noise you notice. The chain from "messy cables" to "this machine is loud" is short and direct.
The second time you open it
This is the bigger one and nobody talks about it. A build with routed, bundled, reachable cables takes ten minutes to add a drive to. The same build with everything crammed behind the motherboard tray takes an hour, and about a third of the time it ends with something unseated that you do not discover until it will not boot.
Diagnosis
When something does go wrong, a tidy machine tells you what is connected at a glance. A nest does not, and you end up unplugging things to find out — which is how a troubleshooting session creates a second fault.
The method, in order
- Route before you connect. Lay each cable along the path it will take with nothing plugged in. It is far easier to find the route with slack in your hands than to discover afterwards that the cable is six inches short of where it needed to go.
- Front-panel cables first. They are the thinnest, the most awkward and the most likely to end up trapped. Do them while there is room.
- Bundle at the natural bends. Cables want to turn in particular places. Tie there, not at arbitrary intervals, and the bundle sits flat instead of springing back.
- Secure to a fixed point, never to another cable. A bundle tied to itself moves as a unit; a bundle tied to a chassis anchor stays where you put it. This one is straight out of vehicle wiring and it is the difference that lasts.
- Leave slack where something moves. Anything on a hinged tray, a swing-out drive cage, or a panel with a fan on it needs enough cable to move without tension.
- Close the panel before you cable-tie everything down. If the side panel bows, you have too much behind the tray, and finding that out after ten ties is a character-building experience.
Hook and loop, not zip ties
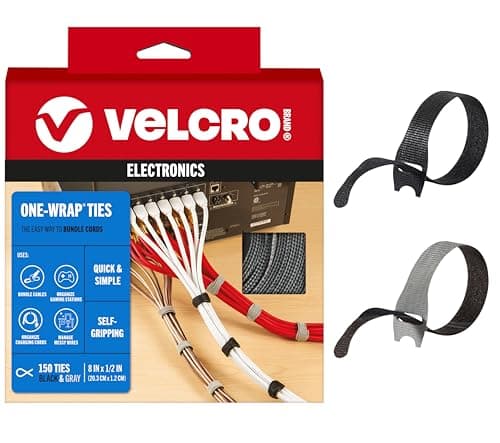
Reusable hook-and-loop straps for everything inside the case. Not because zip ties are worse at holding — they are better — but because you will be back in there, and a zip tie you have to cut off is a zip tie that does not get replaced. Over two or three upgrades that is the entire difference between a build that stays tidy and one that degrades.
There is a second reason, and it is the one that comes from working on vehicles: an over-tightened zip tie deforms the insulation on the cable underneath it. On a data cable that is a signal problem you will spend an evening chasing.
The one place to be conservative
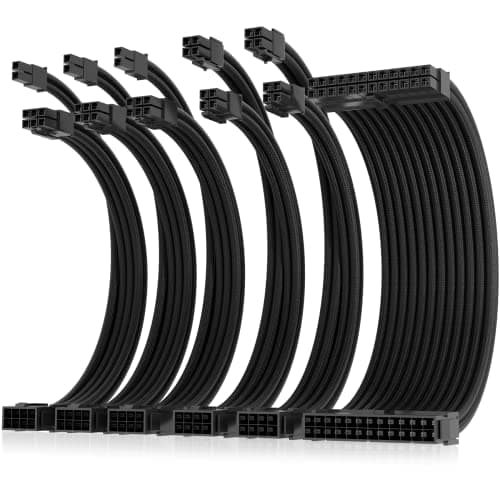
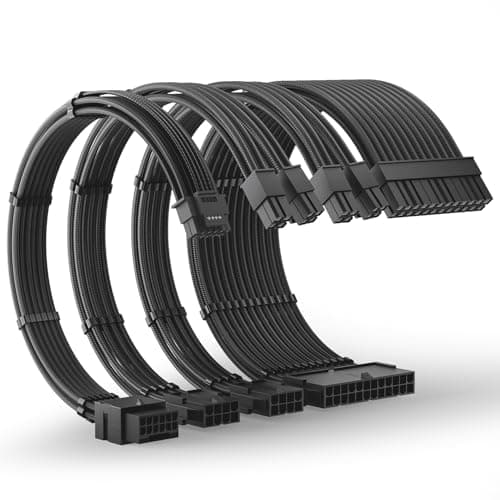
Modern high-draw graphics cards use a connector carrying a great deal of current on very little metal. Two habits matter there and neither costs anything: seat the connector fully until it clicks, and keep the bend well away from the plug body rather than turning the cable immediately behind it.
Which is also why the extension kit at the bottom of this list is a skip rather than a pick. An extension is an added connector pair in the highest-current path in the machine, for a purely cosmetic gain. In the garage I would not do that to a winch feed. Same principle, same answer.
What to actually buy
Inside the case
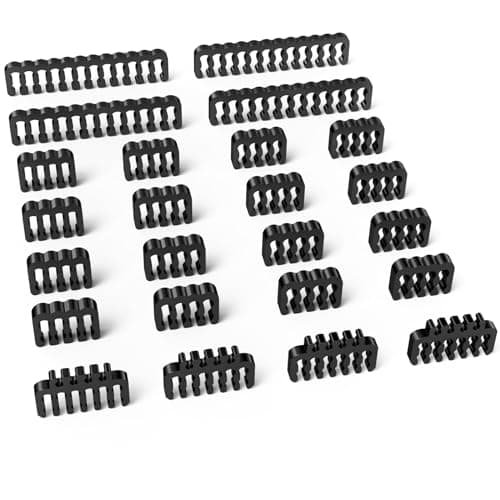
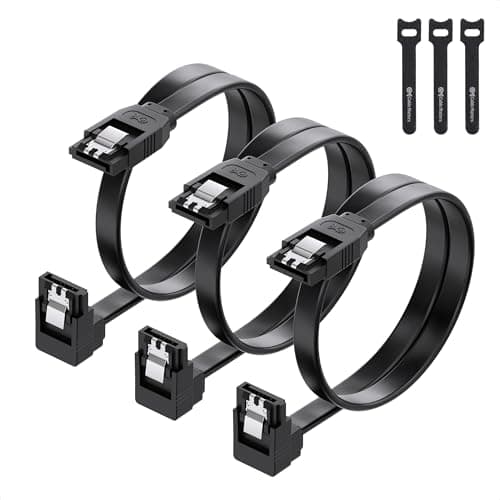
Hook-and-loop straps, and that is genuinely most of it. Add combs if the build has individually sleeved cables and a window; skip them entirely if it does not, because they do nothing you can measure. Right-angle SATA cables if there are still SATA drives — they are the cheapest way to stop a cable pushing against a side panel.
Behind the desk
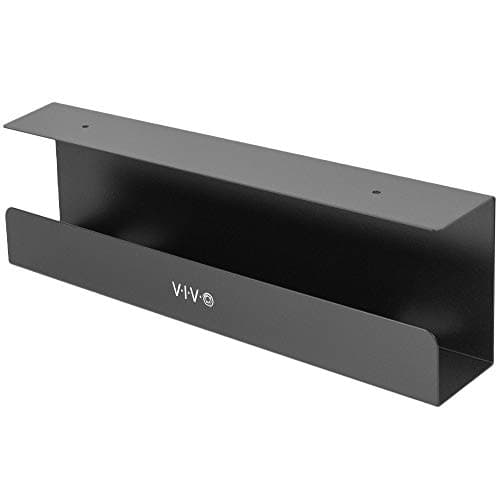
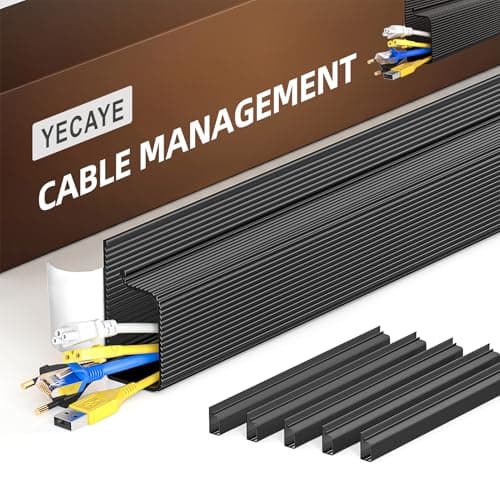
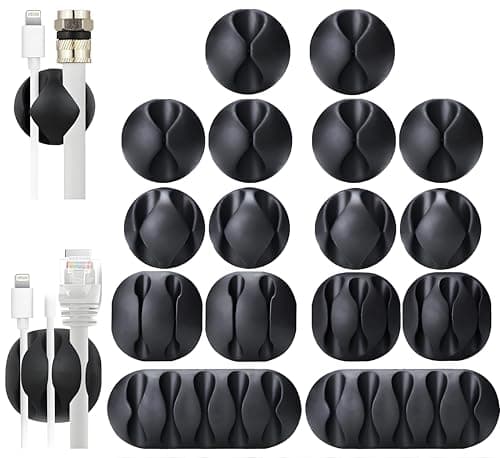
This is where the actual mess is on most setups, and it is usually ignored because the case gets all the attention. An under-desk tray takes the power strip and the brick pile off the floor. A raceway handles the one run a tray cannot help with — the drop from desk to wall socket. Adhesive clips on the desk edge stop the charging cable disappearing behind the desk every single time.
What not to bother with
- Extensions on a high-draw GPU cable. Cosmetic gain, added junction on the highest-current path. Not a trade worth making.
- Combs on a solid-panel case. Nobody sees them, including you.
- Adhesive anything on a textured or freshly painted surface. It will let go, usually about a month in, usually onto a keyboard.
Labeling
Two minutes with a label maker on the cables behind the desk, and the next time you move house you will not be crawling under it with a torch tracing a lead by hand. This is the single most skipped step in every setup and the one people are most grateful for later.