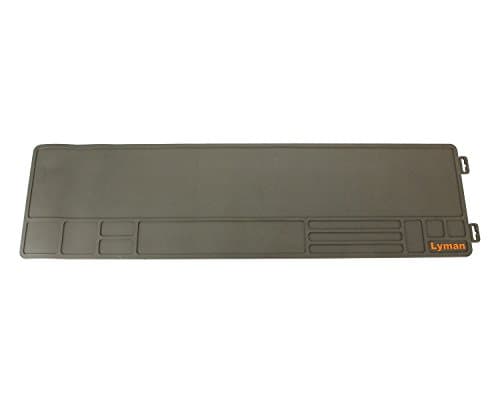
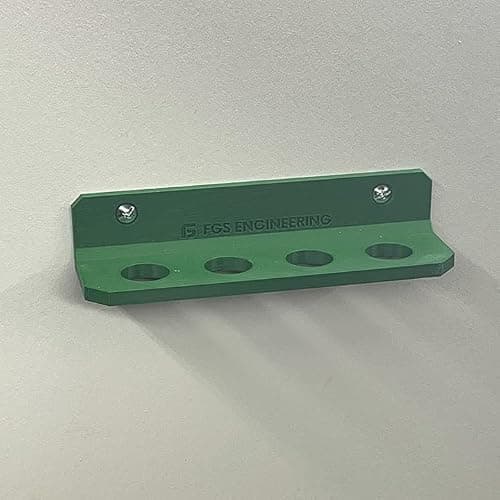
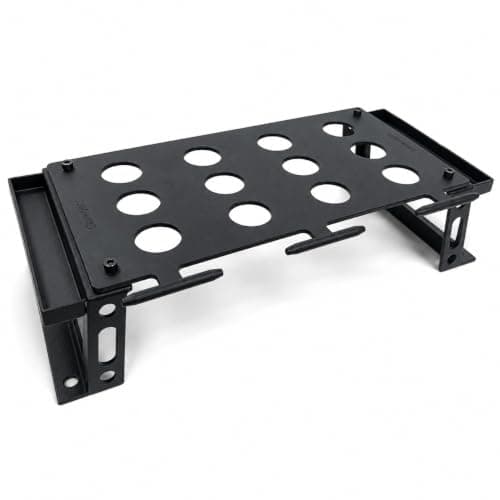
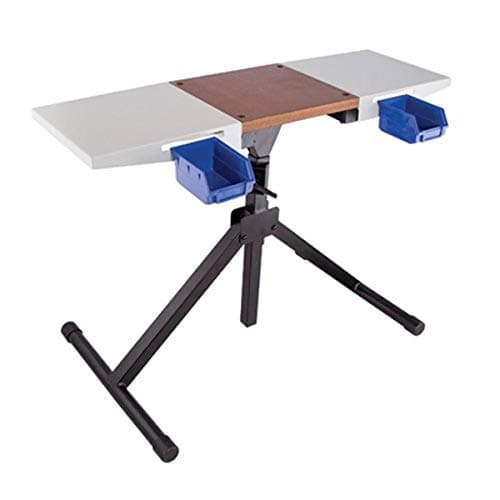
The verdict first: bolt the press to something that does not move, set it so the case mouth is at eye level when you are seated, and put a light directly over the loading block. Those three things cost less than a set of dies and matter more than most people's next three purchases.
The compliance note, once: this page is about the bench. No load data, no components. Charge weights come from a current pressure-tested manual, never from a website.
1. Rigidity: the bench is part of the press
A press flexing on its mount does not feel like flex — it feels like vague, inconsistent resistance at the top of the stroke, which is exactly where you are trying to read what the case is doing. If the bench moves when you size a case, the bench is now a variable.
- Bolt through the bench top with a backing plate or large washers, not into it with wood screws.
- If the top is thin, add a hardwood block under the press and bolt through both.
- A bench that is against a wall can be braced to the wall, and that is the cheapest rigidity available.
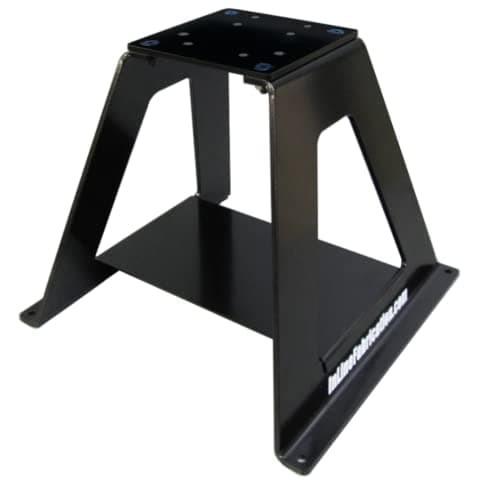
If a permanent bench is not possible — rented house, shared garage, a workbench that has other jobs — a dedicated stand is a real answer rather than a compromise.
2. Height and stroke: set it to your body
This is the change people notice most and consider least. Standard bench height puts the case mouth somewhere around your navel when seated, which means you are looking down past the case rather than into it.
Raise the press until you can see into a charged case without leaning. Being able to see the powder column at a glance is the visual check that catches a double charge, and it only works if the geometry lets you look in rather than down.
The handle stroke matters too. A stroke that finishes at your knees fatigues your shoulder across a long session, and fatigue is where inconsistency comes from.
3. Light: down the case, not over your head
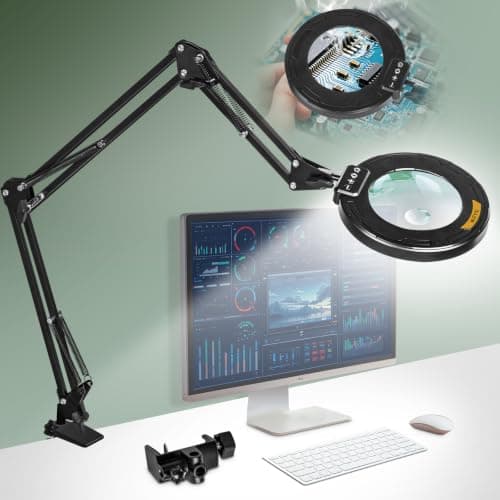
Overhead light puts your head between the bulb and the case. A clamp-mounted arm light positioned over the loading block illuminates the inside of the case mouths, which turns the double-charge check into an actual look instead of a hope.
Magnification is a genuine bonus here: primer pocket condition, case neck splits and incipient case-head separation are all things you find by looking, and you will look more often if looking is easy.
4. Layout: left to right, one operation at a time
Set the bench up so brass moves in one direction. Untouched cases on one side, the press in the middle, finished cases on the other. It sounds fussy and it eliminates the single most common bench error, which is not knowing whether a given case has been through an operation.
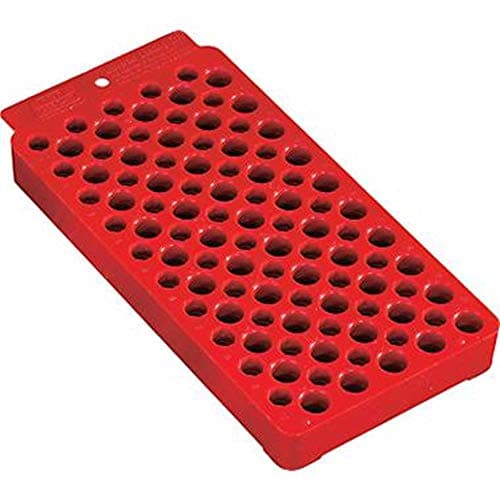
The loading block is the centerpiece of that layout. A row of charged cases standing upright, under a light, is the double-charge check. Nothing about it is sophisticated and nothing has replaced it.
5. Storage: so die settings survive
The reason to store dies visibly in a rack rather than in their boxes in a drawer is not tidiness. It is that a die you can find is a die you set once and leave set, and a die you have to hunt for is a die you end up re-adjusting.
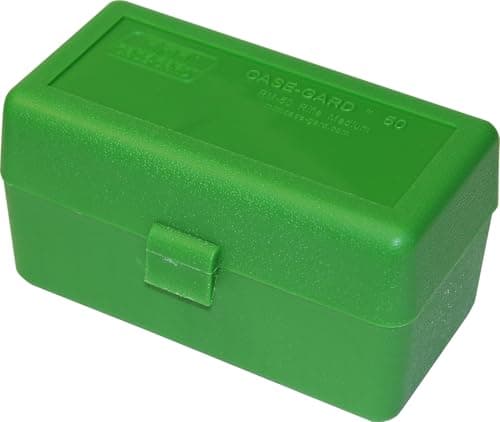
The same argument applies to labeled ammunition boxes at the other end of the process. Handloads without a label are handloads you will eventually pull apart, because you will not trust them and you will be right not to.
The one rule that is not about equipment
One powder container open on the bench at a time. Not two. Not one open and one nearby with the lid loose. Every wrong-powder story starts with two containers on a bench, and no piece of equipment on this page prevents it.
What to spend on, and what not to
Spend on: rigidity and ergonomics
A stand or a riser changes how every session goes for as long as you reload. These are the purchases with compounding returns, and they are the ones people postpone in favor of another die set.
Spend on: the loading block and the light
Together they are under forty dollars and they are the double-charge check. There is no more cost-effective safety spending in the whole hobby.
Be cheap on: storage
A die rack holds dies. A fifteen-dollar one and a fifty-dollar one hold them identically, and the thirty-five dollars of difference is a meaningful fraction of a caliper. That is why the premium rack is the skip pick above.
The bench top itself
Two layers of three-quarter-inch plywood, glued and screwed, makes a better reloading surface than most commercial benches and costs less. Torsion is what you are fighting, and thickness plus a rigid frame is how you win. A hardwood top is nicer and is not more accurate.
Where this sits in the sequence
The bench comes before the second press and after the scale. If you are still choosing the press, that decision is here, and the case prep tooling that will end up on this bench is here.