My '96 Grand Cherokee ZJ: the Headliner Replacement Guide
Mine sagged so badly I had thumbtacks holding it up. Here is the whole job, including the two hidden screws nobody told me about and the light housing I broke finding them.
We earn a commission when you buy through our Amazon links, at no extra cost to you. It never changes the order of the picks, and we say so when the cheaper thing is the better buy. How this works.
I put this off for a long time. The headliner in my ZJ sagged badly enough that I had thumbtacks in the front of it holding the fabric up, which is a confession I am leading with because if that is where you are right now, this is very much fixable.
I looked for a guide before starting and the ones I found were all missing either the photographs or the details I actually wanted, so I did the job and wrote up my own. It seemed daunting. It was not too bad once I got started.
Originally documented on JeepForum. I wrote this up as a thread while I was doing the job, because the guides I found before starting were missing the pictures or the details I actually wanted. This is that write-up, reorganized and expanded for this site, in my own words.
The problem. The foam backing on a twenty-year-old headliner turns to dust and the fabric simply stops being held to the board.
What you actually need to buy
Two things, and you probably own everything else.
Fabric. I went to Joann Fabrics and picked one of the cheaper materials — around $10 a yard, some sort of vinyl. I bought 4 yards. Honestly you can get away with 3; I did not have the exact length measurement and did not want to risk coming up short. Whatever you go with, make sure it is 54 inches wide. That is the one specification that is not negotiable — the width has to cover the board in a single piece or you have a seam down the middle of your roof forever.
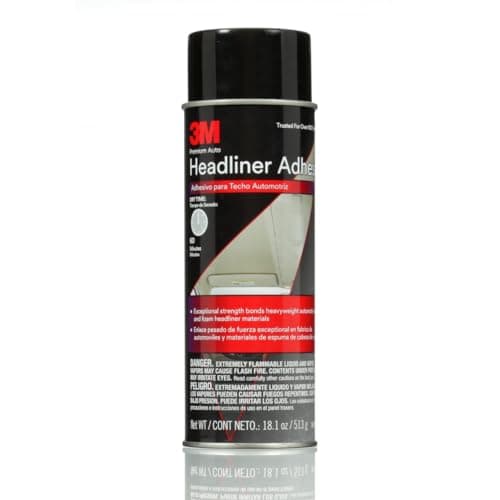
Adhesive. I stopped at Autozone and bought 3 cans of 3M Headliner Adhesive at $15.99 each. I originally bought 2, and it can potentially be done with 2, but I went back for a third about halfway through because I did not want to run out mid-panel. Buy the third can. Returning an unopened can is easier than stopping.
Every dollar figure on this page is what I paid at the time, which was years ago now. They are here because the ratios are still useful, not because they are current prices. The only live numbers on this site are on the buy buttons. Fabric and adhesive have both moved since.
Everything else is likely already in your garage: a shop vac, a 13/16 socket for the seat belts (a size 20 might have worked better — the biggest I had was a 19 and 13/16 is what fit), a Phillips screwdriver, and a torx driver. The torx bit that fit mine reads CR-VT25.
The bit that fit. If you are standing in a store guessing at torx sizes, this is the one.
Stripping the interior, in order
1. Visors and grab handles
Torx driver, all of them. On the rear handles there is a little plastic cover over a third screw that you have to pop off to get to the head. Miss it and you will be pulling against a fastener you cannot see.
2. The center console
One Phillips screw at the front of it. Once that is out the front starts to hang down; the back is held by clips and slides forward or back until it pops off.
3. The tailgate trim — and this is where I broke something
The plastic along the tailgate edge has two screws, one at each end, and three clips in the middle that just pop out.
It also has two screws inside the rear light that you get to by removing the clear plastic cover — and I did not realize that until it was too late. I thought the piece was simply going to pop off, pulled on it, and broke the part that attaches to the light. Learn from me: take the light lens off, find those two screws, and remove them before you pull anything.
4. Seat belts
13/16 socket, all of them out.
5. The pillars
No screws at all — every pillar trim is on clips. The technique that worked: grab from the top or the bottom with a hand either side and pry slowly and evenly. Do not forget the clips in the center of the headliner at the back; I started those with a flat screwdriver and pulled them the rest of the way with pliers or my fingers.
Once those are all out the headliner starts to separate from the roof and drop. You then maneuver the whole board out of the back of the Jeep.
What is behind it. Nothing complicated up there — which is worth seeing once, because it tells you the board is the only thing between you and the roof skin.
The board out, fabric peeled off. That orange-brown surface is what is left of the foam backing, and all of it has to come off before anything new goes on.
Getting the old foam off: vacuum, do not rub
This is the part of the job that takes the longest and the tip that is worth the most.
Peel the old fabric off — that comes away easily. Then you have to clean the degraded foam off the fiberglass board. I used a vacuum and just used the hose to rub the foam off while sucking it up at the same time. A lot of people say to rub it off by hand and I tried that, but the vacuum method got noticeably more of it and made far less mess.
Once you have been over the whole thing, run a gloved hand across the board while it is on its side to clear any loose debris the vacuum missed.
The vacuum doing both jobs at once — the hose end scrubs and the suction takes the debris away before it can go everywhere.
Halfway. The clean side is what you are aiming for across the whole board.
The last pass, by hand and in a glove, for whatever the vacuum did not lift.
Cleaned, with the visor cut-out and mounting holes visible. Those holes are what you cut back through at the very end.
Laying the new material
Put the fabric over the board and line everything up. I left about 6 inches hanging off the front and back ends, and the width at 54 inches was perfect.
Then the technique that makes this work:
Start at the front. Fold the material back over onto itself so half the board is exposed, spray adhesive on both the fiberglass and the material, then push the fabric into place working from the middle outwards to flatten it.
The front is the hardest part, because of the contours in the fiberglass. Expect to fight it there and to have an easy time everywhere else.
Let it set for about ten minutes. Then fold the material the other way, so it is hanging off the front of the board, and work down the length.
Spray in three-foot increments, both surfaces each time, all the way down. Three feet is about as much as you can lay before the adhesive starts to skin.
The fold-back. Half the board exposed, half covered, so you can spray both surfaces without getting adhesive where it does not belong.
Working down the board in sections, with the can never far away. This is the point where you find out whether two cans was enough.
Flattening out from the middle towards the edges. Air has to go somewhere and this is the direction you want it to go.
Covered. Not flawless, and once it is in the roof and lit from below you genuinely cannot tell.
Finishing and refitting
What is left is trimming the material back around the edges of the fiberglass and using an exacto knife to cut out the holes for the handles, the visors and everything else that mounts through it. Cut those from the board side so the edges pull under rather than showing.
Then it goes back in the way it came out, in reverse order.
Back in. The front edge is the bit you look at every day, and it is also the bit that fought hardest going on.
Dome light and console back in their holes. Cutting those openings accurately is the last ten percent of the job and it is what makes it look bought rather than done.
Finished, and flat, and no thumbtacks in it.
I hope this inspires you to fix yours, because it really is not too bad once you get started.
The one that actually holds a headliner up in a hot car. Ordinary spray adhesive lets go the first summer, which is exactly why yours is sagging in the first place.
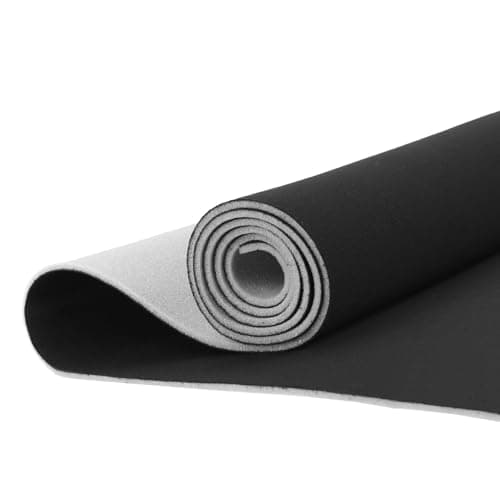
The width is the specification. Fifty-four inches is what a full-size headliner board needs, and anything narrower means a seam down the middle of your roof forever.
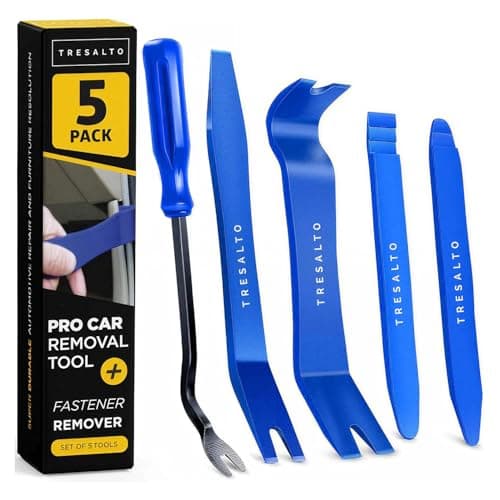
Nine dollars against a cracked A-pillar trim. Every pillar on this job comes off on clips, and a screwdriver is how you find out what a broken clip tab costs.
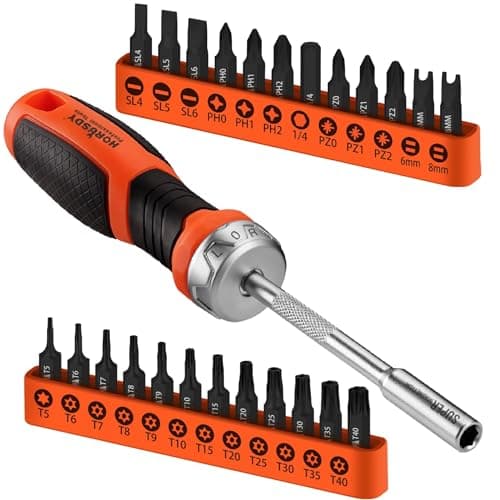
The visors and grab handles are all torx, and if you do not have the right size you are not starting. A set removes the guesswork and costs less than one wrong trip to the store.
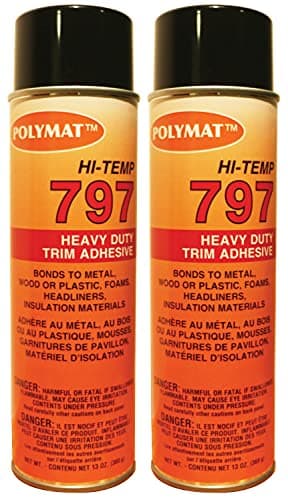
The other name that comes up in every headliner thread. Rated to a higher working temperature than the general-purpose sprays, which is the only property that matters here.
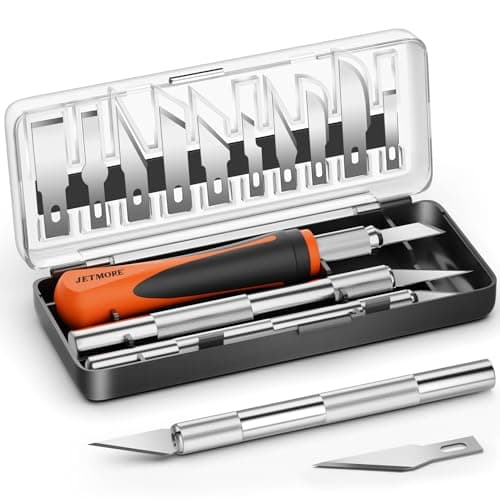
The last step is cutting the material back around the board and opening the holes for the visors and handles. A fresh blade is the difference between a clean edge and a torn one.
#ad · Live prices from the Amazon Creators API, as of October 19, 2026. Where we have no verified live price we show none — a gap beats a number that has rotted.
In detail
The picks, in full
01
Best adhesive
3M Headliner & Fabric Adhesive, 18.1 oz
I run this one
This is what I used, and I used three cans at $15.99 each — historical prices, 2011. I bought two, got about halfway down the board and went back for a third because I did not want to run out mid-panel.
18.1 oz aerosolHeat resistantFor fabric to fiberglassFast tack
8.3/10
The one that actually holds a headliner up in a hot car. Ordinary spray adhesive lets go the first summer, which is exactly why yours is sagging in the first place.
Heat resistance
10
Tack speed
9
Coverage
6
Value
8
What's good
+Formulated for the heat a parked car roof actually reaches, which is the entire failure mode of the original glue
+Tacks fast enough to work in sections without holding fabric in place with your hands
+One can does not do a full-size headliner — plan on two minimum and buy a third
What's not
−Overspray goes everywhere; mask or work outside
−Once it grabs it does not reposition, so line the fabric up before you spray
−The fumes are genuinely unpleasant in an enclosed garage
Skip it if…
…you are gluing anything that will not see heat. This is priced for the heat resistance and a general-purpose spray adhesive is a third of the cost for a job that does not need it.
54in widthFoam backingAutomotive headliner gradeCut to length
8.3/10
The width is the specification. Fifty-four inches is what a full-size headliner board needs, and anything narrower means a seam down the middle of your roof forever.
Correct width
10
Material quality
7
Value
9
Color range
7
What's good
+Foam-backed material is what the factory used — it hides the board's texture and gives the adhesive something to grab
+Fifty-four inches covers a full-size board across without a seam
+Cheaper per yard than most upholstery shops charge for the same thing
What's not
−Foam backing is the part that fails in twenty years, so this is a repair with a clock on it, same as the original
−Colors photograph differently to how they look in a roof
−You need to work out your length before ordering, and measuring a curved board is not obvious
Skip it if…
…you found something you like at a fabric store. I used plain vinyl off a bolt at Joann for about $10 a yard and it worked fine — the only thing that is non-negotiable is the 54-inch width.
5 nylon pry toolsNo-scratchClip removal shapesFits pillar and panel gaps
8.3/10
Nine dollars against a cracked A-pillar trim. Every pillar on this job comes off on clips, and a screwdriver is how you find out what a broken clip tab costs.
Damage prevention
9
Shape coverage
8
Durability
6
Value
10
What's good
+Nylon spreads the load across a wider area than a screwdriver, which is why the clips release instead of the plastic tearing
+The wedge shapes get into the pillar gaps without marking the trim
+Cheap enough that there is no reason to do this job without them
What's not
−Nylon deforms on genuinely stubborn clips and you will chew one up
−Not a substitute for knowing where the hidden screws are
−Five pieces is enough for interior trim and not for much else
Skip it if…
…you already own a set. They are all much the same and yours is fine.
T5 through T40Security (tamper) bits included1/4in hex shankIncludes driver
8.3/10
The visors and grab handles are all torx, and if you do not have the right size you are not starting. A set removes the guesswork and costs less than one wrong trip to the store.
Size coverage
10
Steel quality
6
Completeness
8
Value
9
What's good
+Covers the whole range, so you find the right size by trying rather than by shopping
+Security-drilled bits also fit standard torx heads, which makes the set more useful than a plain one
+The T25 in this set is the size that fits the ZJ's visor and handle screws
What's not
−Budget steel — the small sizes will round out under real torque
−A bit set needs a driver or a ratchet you already own
−The case is the first thing that breaks
Skip it if…
…you only need one size. A single T25 bit is a couple of dollars and does this whole job.
Two 13 oz cansRated to 160FWater resistantAutomotive and marine
7.0/10
The other name that comes up in every headliner thread. Rated to a higher working temperature than the general-purpose sprays, which is the only property that matters here.
Heat resistance
9
Availability
6
Coverage
6
Value
7
What's good
+Genuinely heat-rated rather than heat-tolerant, which is the difference between a five-year repair and a one-summer one
+Popular with upholstery shops, so the technique advice around it is easy to find
+Works on the same fabric-to-fiberglass bond as the 3M
What's not
−Smaller cans than the 3M, so you need proportionally more of them
−Less widely stocked, so a mid-job top-up trip is harder
−Same overspray and fume caveats as any solvent adhesive
Skip it if…
…you can get the 3M locally. Being able to walk into a parts store for a third can halfway through the job is worth more than a small spec advantage.
Price as of October 19, 2026. Prices move — Amazon's is the one that counts.
#ad · we may earn a commission from this link to Polymat 797 Hi-Temp Spray Adhesive, 13oz (2 cans)
06
Best trimming knife
Precision Craft Knife Set with Blades
Precision handleSpare blades includedFine pointStorage case
8.3/10
The last step is cutting the material back around the board and opening the holes for the visors and handles. A fresh blade is the difference between a clean edge and a torn one.
Cut quality
8
Blade supply
9
Handle comfort
6
Value
10
What's good
+A sharp blade cuts vinyl cleanly; a dull one drags and tears the foam backing with it
+Enough spare blades that you can change one the moment it stops cutting, which you should
+Cheap and useful long after this job
What's not
−Budget blades dull quickly on foam-backed material
−Small handle is tiring for a long cutting session
−Genuinely sharp — this is the step where people cut themselves
Skip it if…
…you own a utility knife with fresh blades. It does the same job with less finesse and you already have it.
Color, texture and price are all preference. The width is a hard requirement — anything narrower than 54 inches means a seam across your roof.
Buy one more can of adhesive than you think
I bought two and went back for a third halfway down the board. An unopened can is easy to return; stopping in the middle of a panel with tacky adhesive is not.
Get the heat-rated adhesive, not general-purpose spray
The reason your original headliner failed is heat over twenty years. General-purpose spray adhesive fails at it faster. This is the one place on the parts list not to economize.
Nylon trim tools, not a screwdriver
Every pillar on this job comes off on clips, and a screwdriver finds the clips by breaking them. Nine dollars of nylon pry tools is cheaper than one trim panel.
How these were picked
1 of these is mine. The rest are research, and I say which is which.
Anything carrying the "I run this one" stamp above is gear I actually own and use, and I write about it in those terms. What I do not do is invent numbers to dress that up — there are no group sizes, round counts or chronograph figures on this site, because I did not record them. For everything without the stamp: I read the manufacturer's published specification, compile the numbers that decide the purchase, do the arithmetic in the open, check the live price, and name one product to skip. Those scores are judgments against a published rubric, not measurements I took.
Questions
Frequently asked
How much fabric do I need for a ZJ headliner?+
I bought 4 yards and 3 would have done it — I bought the extra because I did not have the exact length measured and did not want to come up short. The critical specification is the width: it must be 54 inches so it covers the board in one piece.
How many cans of headliner adhesive?+
Three, on mine. I bought two, and it can potentially be done with two, but I went back for a third about halfway through rather than risk running out mid-panel. Buy three and return one.
What is the best way to get the old foam off?+
A shop vacuum, using the hose end to rub the foam off while it sucks the debris up at the same time. A lot of guides say to rub it off by hand — I tried that and the vacuum got noticeably more off with far less mess. Finish with a gloved hand across the board.
What size torx do I need?+
The bit that fit mine reads CR-VT25. You will also want a 13/16 socket for the seat belts and a Phillips screwdriver for the console.
What is the mistake people make on the tailgate trim?+
Not knowing about the two screws inside the rear light. You have to take the clear plastic lens cover off to reach them. I did not realize until it was too late, pulled on the trim assuming it would pop off, and broke the part that attaches to the light.
Which part of the board is hardest?+
The front, because of the contours in the fiberglass. Everything behind it lays down comparatively easily in three-foot sections.
We do not run a testing lab and we do not pretend to. Where a measured number came from a manufacturer's published specification or someone else's lab, we name them and link them. Where we could not verify something, we say so on the page rather than quietly leaving it out. Read the full method.