Same disclosure as everywhere else on this site: no receiver, barrel, bolt carrier group or trigger is linked or priced on this page. Buy those from Aero Precision directly or from a dealer — the brand guide covers what they make and why that is the right channel. Everything below is tools.
And that is not a workaround. It is the actual point of this page. People spend weeks choosing parts and then attempt the assembly with a hammer from the kitchen drawer, and the parts are almost never what goes wrong. I have built on Aero parts, and every problem I have had at a bench was a tool problem or an impatience problem — never a parts problem.
The four things that actually go wrong
1. Roll pins
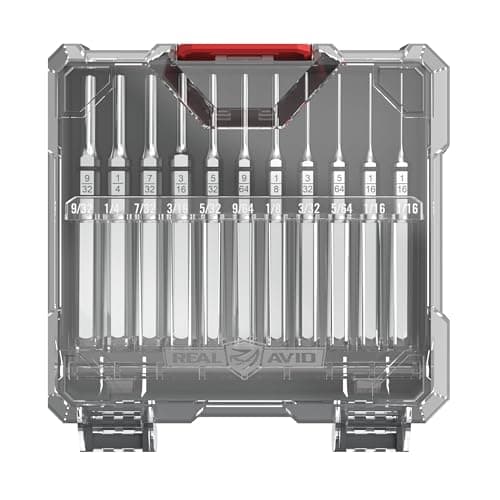
The bolt catch roll pin is where more first builds get marked than anywhere else. It needs driving through a hole in an anodized receiver, and a punch that skates off the pin lands on the receiver and leaves a scar you cannot remove.
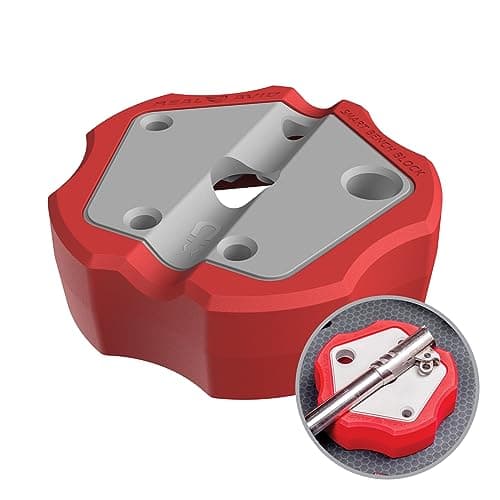
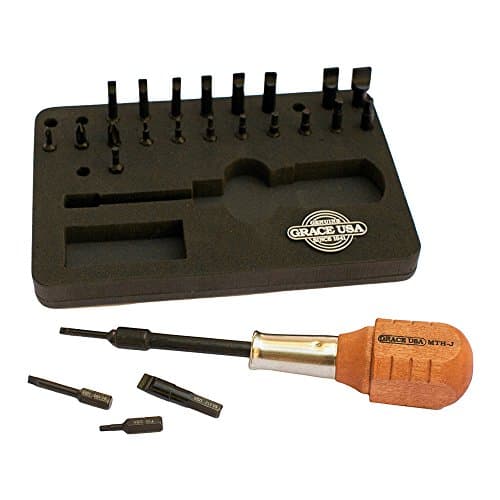
The fix is a roll pin punch — the cupped tip locates on the pin and stays there — and a bench block that supports the part right up to the hole so nothing flexes while you hit it. Both are on this page and together they cost about fifty dollars.
2. Torque
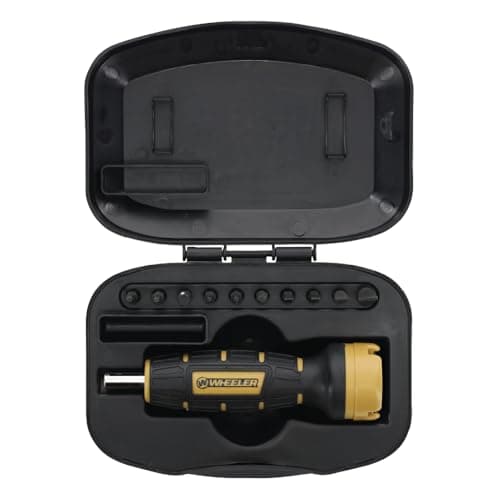
Castle nut, grip screw, optic rings, and if you are going that far, the barrel nut. Every one has a published figure. "Tight" is not a figure. Under-torque and things loosen under recoil; over-torque and you strip an aluminum thread on a part you cannot replace without buying a new receiver.
One note: barrel nut torque is normally specified in foot-pounds and the wrenches on this page read inch-pounds. They are the right tools for the small fasteners and the wrong tools for the barrel nut. Check what your specific parts call for.
3. Springs and detents
A lower parts kit contains several very small springs under compression and several detents that are approximately the size of a grain of rice. They launch. Then they are gone, and the build stops until a replacement arrives.
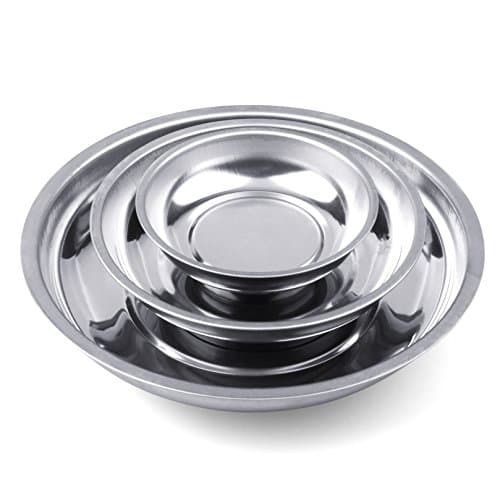
Magnetic trays and a padded mat are the whole answer, and they cost forty dollars between them. Work with the receiver on the mat, stage each subassembly in its own tray, and do the spring-loaded steps with a hand over the top.
4. Not holding the work
You cannot torque a fastener on something you are also trying to hold still. A vise block in a bench vise turns every awkward two-hand job into a one-hand job. It is the least exciting tool on this page and the one that changes the experience most.
What order to do this in
Buy the tools before you buy the parts. That sounds backwards and it is not: the tools arrive, you have a bench set up, and then the parts arrive and you do the job properly the first time instead of improvising at ten at night because you are excited.
Then work in stages, one tray per stage, checking off against the instructions for the specific parts you bought. Aero publishes assembly documentation for their parts and it is worth reading before you start rather than during.
The honest advice about the lower
If the roll pins worry you — and they should worry you slightly — there is no shame in buying a complete lower or having a shop assemble it. Plenty of people build the upper, which has none of the roll pin problems, and buy the lower assembled. That is a completely sensible way to do a first build and it costs you nothing but bragging rights.
One part of this build that is easy to leave until last and worth deciding early: the sling mounting. The end plate, the handguard and the stock between them decide which attachment hardware you can use, and it is far easier to pick them with that in mind than to retrofit afterwards. How to attach a rifle sling goes through the four options, and single point against two point covers the decision that comes before the hardware.
Setting up a bench that works
Buy a real bench vise first
The vise block on this page is useless without one, and a vise is the single most useful thing in any workshop. Buy the vise, bolt it down properly, and then buy the block.
Roll pin punches are not the same as pin punches
A standard pin punch has a flat tip. A roll pin punch has a cupped tip that locates in the hollow of the pin. Using the flat one on a roll pin is exactly how the punch skates and the receiver gets marked. Buy the set that says roll pin.
Get a proper hammer
Brass or nylon-faced, not steel. A steel hammer on a punch is fine; a steel hammer that misses is not. Most punch sets on the market do not include a hammer, so budget for one.
Read the instructions for your actual parts
Torque figures, assembly order and any part-specific quirks come from the manufacturer of the parts you bought, not from a generic guide on the internet — including this one. Aero publishes documentation; use it.
Do the spring-loaded steps with a hand over the top
Bolt catch, magazine catch, buffer retainer, takedown detents. Every one of them can launch a spring across the room. A cupped hand over the assembly costs nothing and saves the evening.
Check everything again after the first outing
Fasteners settle in. Re-torque the castle nut, the grip screw and any optic mounting after the first fifty rounds. This is the difference between a rifle that stays put and one you spend a season chasing.